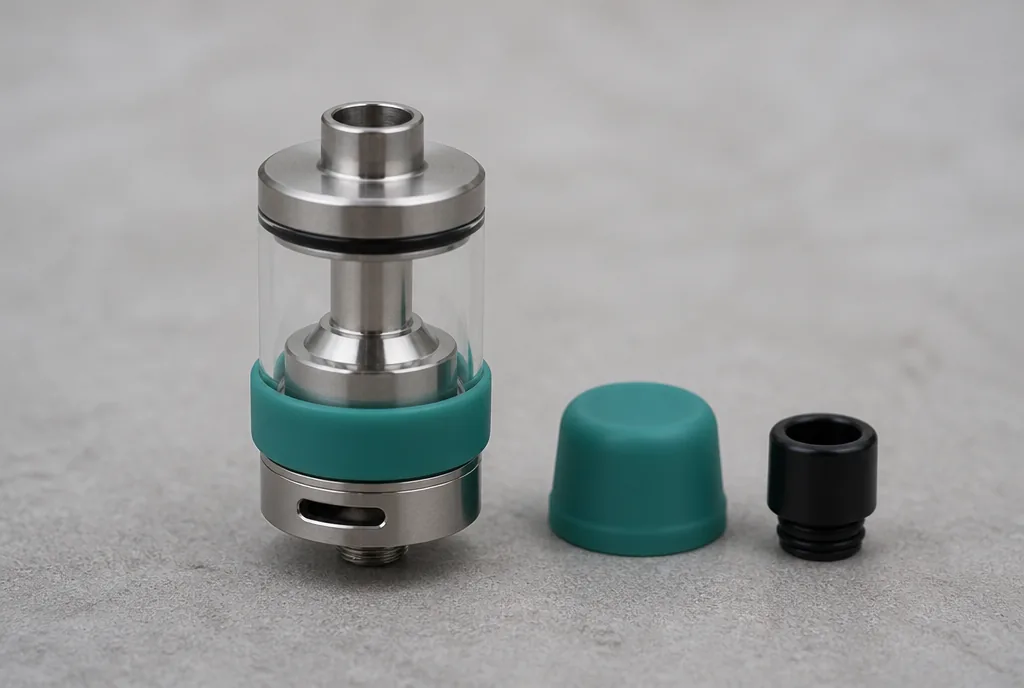
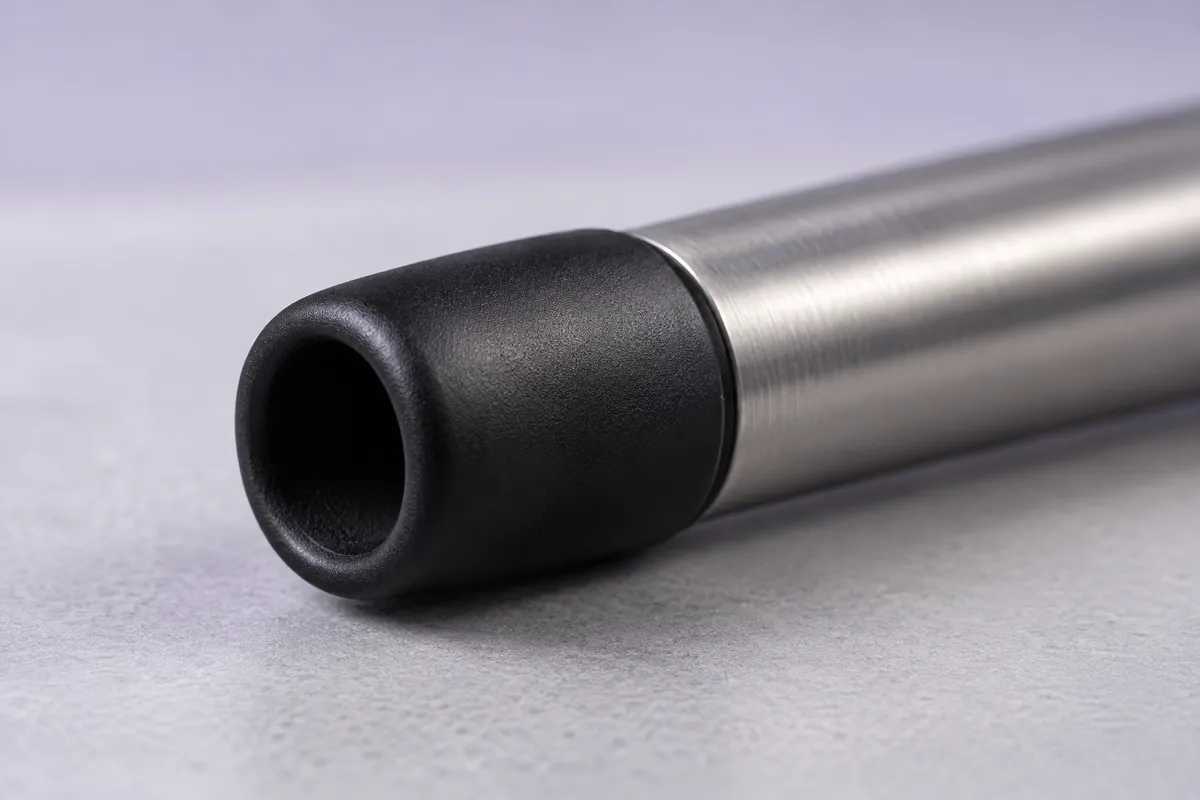
How to clean a drip tip: the upkeep routine
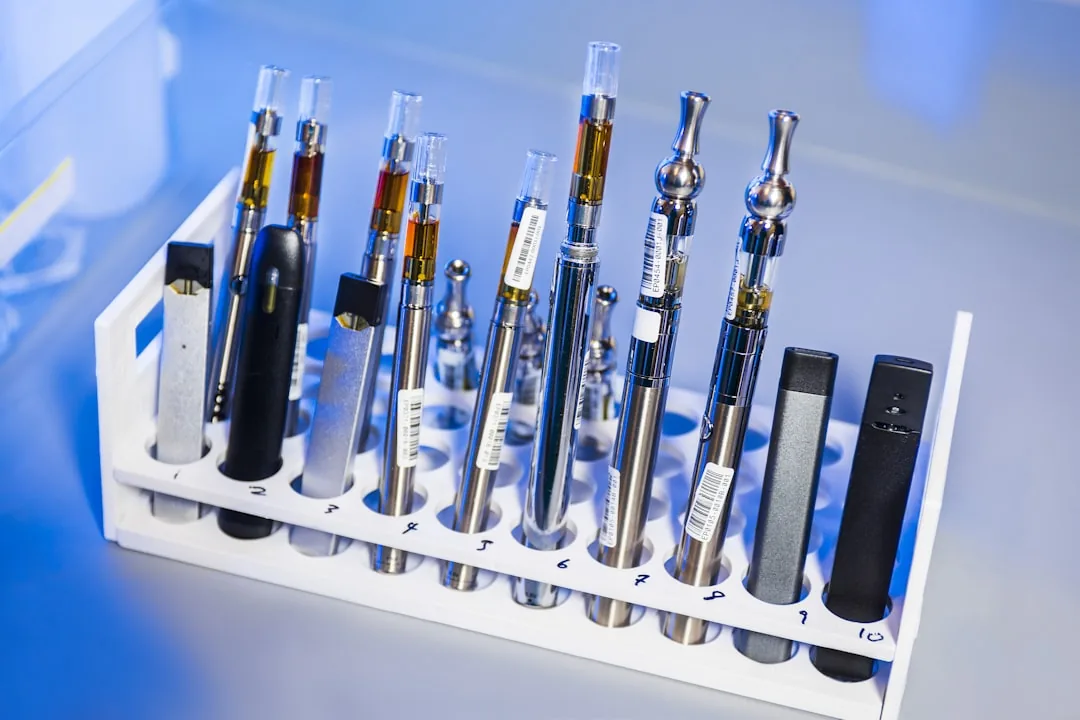
A channel that narrows, a flavour that turns muddy, an unpleasant contact on the lips: the mouthpiece you raise to your mouth on every puff clogs faster than most people think. Learning to clean a drip tip needs no special product and no complicated dismantling, only a little regularity. This part, so often left out of a maintenance routine, deserves the same attention as the tank, because it is the only one that touches skin directly.
How to clean a drip tip in five minutes
To clean a drip tip properly takes a handful of steps. Pull the tip out of the tank, soak it for a few minutes in warm water with a drop of washing up liquid, work the inside of the channel with a small brush or a cotton bud, rinse thoroughly under clean water, then dry it completely before refitting.
The whole operation takes under five minutes and calls for no special tools. British retailers describe the same method on their maintenance pages, which is a good sign that nothing exotic is required.
The step most often skipped is the complete dry. A tip refitted while damp traps water against the tank and can distort the draw. A clean, properly dried mouthpiece restores both the original airflow and the original flavour.
Drying deserves more than a shake over the sink. Water left inside the channel mixes with the first few puffs of vapour and produces a flat, slightly watery taste that people routinely blame on a tired coil or a bad bottle of liquid. The residue also travels the wrong way, creeping down towards the tank and encouraging the small gurgle that follows a clean.
Leaving the tip on a piece of kitchen roll for ten minutes solves it entirely. If you are in a hurry, blowing sharply through the channel clears the bulk of it, though a short air dry afterwards is still the safer habit.
Why a mouthpiece clogs in the first place
Understanding where the deposits come from helps you space the cleanings out sensibly. Clogging is not a fault, it is a normal consequence of use.
On every puff, micro residues from the vapour condense on the walls of the channel. Liquids rich in sugars or dessert flavours accelerate the process and leave a more stubborn film behind.
On the outside, repeated lip contact leaves a greasy film of its own. The two sources combine, so the more you vape and the sweeter the liquid, the more attention the tip needs.
How often to do it
There is no single schedule that suits everyone. The right frequency depends on how much you vape and on what you put in the tank.
A quick rinse every two or three days is enough for ordinary use with lightly sweetened liquids. A fuller clean with a soak makes sense roughly once a week, or sooner if the channel visibly narrows or an off taste appears.
Very sweet liquids shorten those intervals considerably. The best indicator remains feel: a draw that tightens or a flavour that flattens is telling you the time has come.
Adapting the method to the material
Not every material takes the same treatment. A gesture that is harmless on one can damage another, which is worth knowing before you start scrubbing.
Delrin, Ultem and stainless steel all tolerate warm soapy water and a simple dry without complaint. These smooth materials clean easily and hold few deposits in the first place, so the choice of material shapes upkeep as much as it shapes comfort, as our comparison of drip tip materials shows.
Resin is happy with warm water but dislikes boiling water, which can mark it over time. Glass takes a careful clean but fears knocks, so it wants handling with care over a hard sink.
Isopropyl alcohol comes up frequently on British maintenance guides, and it works well on stainless steel and on engineering plastics for a deeper clean. Keep it away from resin, and rinse thoroughly with water afterwards in every case.
The real dividing line is surface texture rather than brand of material. Smooth surfaces release their deposits with a rinse, because nothing has anywhere to lodge. Textured or slightly porous surfaces hold the film in the grain, so they want a soft brush and a longer soak rather than more force, which would only polish the marks in.
Mistakes to avoid when you clean a drip tip
A few well meaning reflexes do more harm than good. Knowing them saves you replacing a part that was perfectly serviceable.
Dropping a resin tip into boiling water, reaching for an aggressive household cleaner, or taking a metal brush to a delicate surface all leave lasting marks. None of those is necessary when warm soapy water does the job.
Refitting the tip while still damp distorts the draw and encourages liquid to creep up. Forcing a dry seal on reassembly can damage it, when a drop of soapy water eases insertion. Gentle, regular upkeep always beats a brutal clean applied too late.
Do not forget the seal
Looking after the mouthpiece does not stop at its channel. The O ring that holds it in place and seals it deserves a regular glance too.
Across repeated removals, that ring can dry out, deform or collect residue. A tired seal lets the tip wobble in the well and can encourage minor liquid creep, which people usually blame on the tank.
A simple wipe during cleaning, then a drop of soapy water on refitting, keeps it supple and lets the tip go home without force. If the tip no longer holds firmly despite a clean seal, replacing the ring is usually the real fix, and a new tip in the right size for your tank is the other option.
That small ring governs comfort as much as the material of the tip does, and it is the part nobody thinks to check when the draw suddenly feels wrong.
Frequently asked questions
Can a drip tip be cleaned without removing it?
A quick wipe of the outside is possible in place, but a real clean means taking the tip off. Only removal gives access to the inside of the channel, where the deposits that restrict the draw sit. It is a two second job on most tanks.
Is boiling water effective for stubborn residue?
It lifts residue well on resistant materials such as stainless steel, but it can damage resin and weaken some plastics. As a precaution, warm soapy water is enough in the vast majority of cases, and boiling water is best kept for metal tips only.
How do I remove the greasy film at the end of the channel?
A cotton bud or a fine brush dipped in soapy water deals with the film left by lips and vapour. Work the inside of the channel and the rim, then rinse. That targeted step restores both the clean contact and the original airflow.
Should I replace a drip tip rather than clean it?
As long as it is neither cracked nor deformed, a well kept tip lasts a very long time. Replacement is mostly about changing material, size or style, or about a seal that no longer holds. Regular cleaning pushes that moment a long way back.
Does a clean mouthpiece really change the taste?
Yes, noticeably. Deposits in the channel mix old flavours into the vapour and muddy the delivery. A clean tip lets the liquid come through as it is, with no aftertaste, and it is usually the first thing people notice afterwards.
Keeping a mouthpiece clean day to day
Making time to clean a drip tip is no great chore: a few minutes of warm soapy water, a small brush and a complete dry preserve the draw, the flavour and the comfort in your mouth. Setting the frequency by your own use and adapting the method to the material extends the life of a tip with almost no effort.
It also removes a whole category of false problems, from a draw that feels tight to a flavour you were about to blame on the coil, and it works alongside the material choice covered in our guide to a cooler mouthpiece. It is this care given to small accessories, more than any large purchase, that keeps a setup pleasant day after day.
Editorial content for adults only. Vaping is for over-18s in the United Kingdom and involves nicotine, a highly addictive substance. Nothing here is a buying recommendation.